Key Highlights
- Embossing tools are used to create raised or indented designs on various materials such as paper, cardstock, metal, and more.
- Heat embossing relies on embossing powder and a heat gun to achieve a melted, dimensional effect.
- Dry embossing uses embossing folders or dies with a die-cutting machine to create a debossed effect without ink or powder.
- These handy tools open a world of possibilities for enhancing cardmaking, scrapbooking, and other craft projects.
- Whether you’re a seasoned crafter or just starting, having a variety of embossing tools allows for endless creative exploration and unique finishes.
Introduction
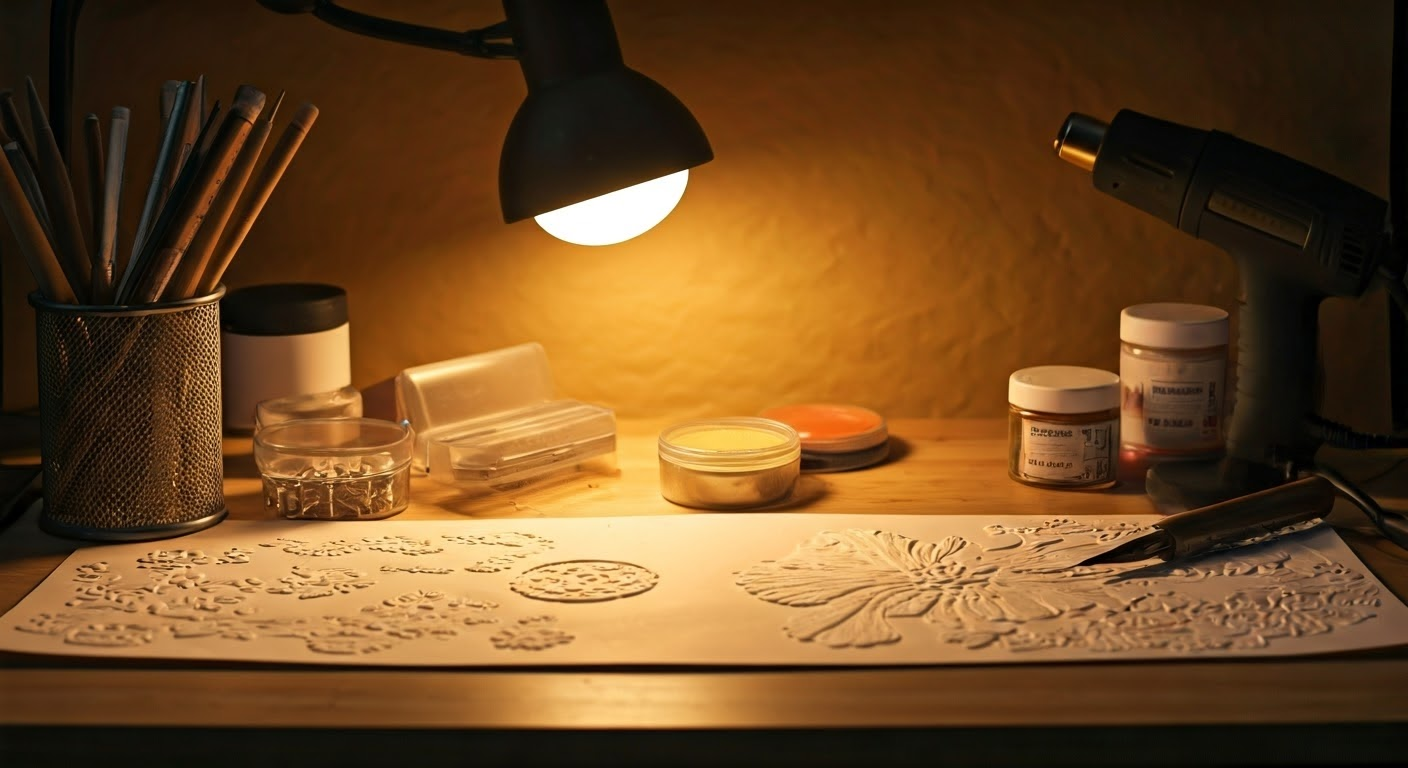
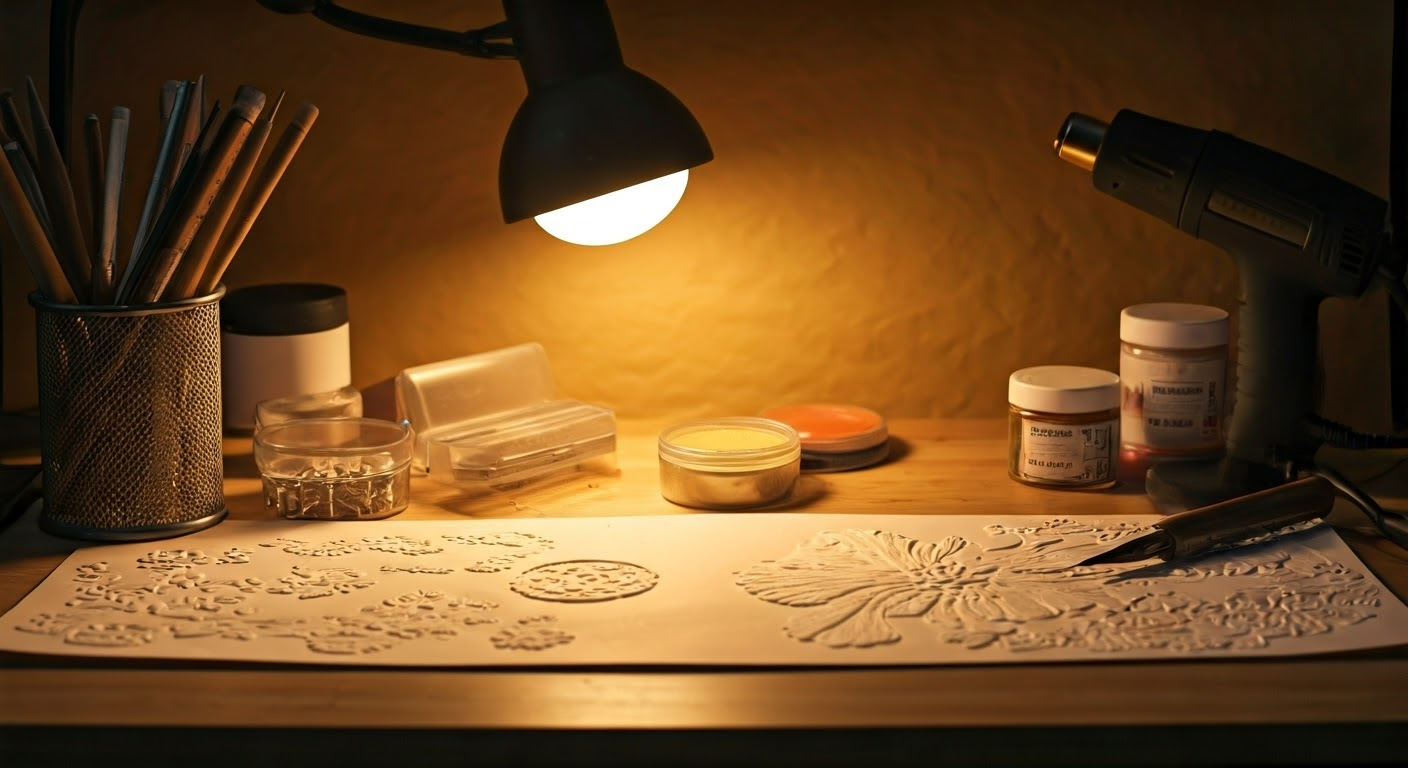
In the world of paper crafting in the United States, embossing stands out as a very popular technique. With the right embossing tool set and some creativity, you can change regular paper into beautiful art. You can use an embossing stylus to add gentle details or create strong textures. This guide will help you learn about embossing tools and improve your crafting projects.
Comprehensive Overview of Essential Embossing Tools

From the detailed work you can do with an embossing stylus to the stunning results of embossing folders, each tool has its own special purpose in the embossing process. This guide will look at the important tools you need for both heat embossing and dry embossing techniques.
Whether you are an experienced crafter or just starting with embossing, knowing these tools and how to use them will help you make beautiful, professional-looking paper crafts.
1. Types of Embossing Styluses and Their Uses
An embossing stylus is a key tool for anyone who likes to craft with paper. It helps to add fine details and beautiful designs to your projects. This tool usually has a stainless steel tip. It lets you make precise lines, dots, and patterns.
You can find embossing stylus sets, which come with different tip sizes for all your project needs. These sets are great because they help you make various line weights. You can add depth to your handwritten messages too. The different sizes allow you to create soft impressions or stronger embossed effects.
When you use an embossing stylus, it’s best to work on a light table or a bright surface. This way, you can see the indentations clearly. Hold the stylus like a pen. Apply gentle and even pressure as you trace your design on the paper.
2. Heat Guns for Embossing: Features and Selection Criteria
A heat gun is an indispensable tool for heat embossing, transforming ordinary embossing powder into beautifully raised, glossy designs. When selecting the best heat gun for your needs, prioritize features like a comfortable grip, a lightweight design, and adjustable temperature settings for controlled heating.
|
Feature |
Description |
|---|---|
|
Wattage |
Higher wattage (1000-1500W) offers faster heating and better performance. |
|
Temperature Control |
Adjustable temperature settings allow versatility for various embossing powders and materials. |
|
Airflow |
Look for options with adjustable airflow for even heat distribution. |
|
Nozzle Attachments |
Different nozzle attachments offer targeted heat application. |
A high-quality heat gun will distribute heat evenly, melt the embossing powder smoothly, and minimize the risk of scorching or uneven finishes.
3. Embossing Powders: A Variety of Colors and Textures
Embossing powders can make your DIY projects feel special. They come in many colors and finishes. Each one adds its own charm to your cardstock designs. You can choose from shiny metallics, bright colors, or unique textures like glitter and pearls. With these powders, you have many ways to spice up your creations.
Fine embossing powders work well for small details. Coarser powders are better for adding texture and visual interest.
- Clear embossing powder gives a soft, shiny finish.
- Metallic embossing powders such as gold, silver, and copper add a rich shine.
- Pigmented embossing powders are available in nearly every color, making it easy to add bright colors.
- Specialty embossing powders offer fun textures like glitter, pearl, and glow-in-the-dark for cool effects.
4. Embossing Folders: Enhancing Your Projects with Patterns
Embossing folders have become very popular recently. They help crafters make deep patterns and textures without needing different dies or stencils. These folders use two textured plates. They make a sandwich that embosses paper when passed through a die-cutting machine.
The best part of embossing folders is their many uses. Some make light background textures. Others create strong, 3D patterns that can be the main focus of your projects. This way of crafting removes the need for detailed cutting or layering. That makes it a favorite for both experienced and new crafters!
You can find many designs. They include classic flowers, shapes, and fun themes like holidays and animals.
5. Embossing Machines: Manual vs. Electric
Embossing machines make embossing easier, especially for complex designs and big projects. Crafters usually have two choices: manual or electric embossing machines. Manual machines are cost-effective and easy to carry. Electric machines are faster and simpler to use, especially for larger batches.
When picking an embossing machine, think about the kind and amount of projects you do. Also, look at reviews on Amazon to compare features and prices.
Whether you are new to crafting or have experience, weigh the good and bad of manual and electric machines. This will help you find the best option for your embossing needs.
Embossing Tools for Specific Crafting Needs
When it comes to crafting, choosing the right embossing tools for your specific needs is essential for achieving the best results. Different projects may require different techniques, and having the right tools on hand can make all the difference. For example, if you’re working on intricate card designs or detailed scrapbooking, an embossing stylus with multiple tip sizes can help you create fine, precise details. On the other hand, if your project involves larger areas or textured backgrounds, an embossing folder paired with a die-cutting machine might be more suitable, allowing you to emboss large sheets of paper quickly and easily. Additionally, heat embossing requires not just a heat gun but also a good selection of embossing powders to match the theme of your project—whether you want a sleek metallic finish or a textured, glittery effect. By understanding the purpose of each tool and how they can be used in conjunction with one another, you can tailor your crafting experience to suit your unique style and project requirements, enhancing your overall creativity and efficiency in the process.
Application Techniques and Tutorials
Mastering the application techniques for embossing tools can truly elevate your crafting projects, enabling you to achieve stunning results with ease. In this section, we will explore various methods and provide step-by-step tutorials that cater to both beginners and seasoned crafters. To start, let’s look at heat embossing—this technique involves applying an ink of your choice onto your project, followed by sprinkling embossing powder over the wetted area. A heat gun will then melt the powder, creating a beautiful raised effect. For a unique twist, consider layering different powders for added depth and texture. Next, dry embossing offers another avenue for exploration. By using an embossing folder, you can effortlessly create intricate designs by simply passing the folder through a die-cutting machine. This method is particularly effective for adding dimension to card fronts or scrapbook pages. We’ll also cover how to pair these techniques with different embossing tools, such as styluses for detailed hand-drawn designs or stencils for precision. Join us as we dive into the practical aspects of these methods, allowing you to develop your own style and creativity in the world of embossing.
Versatility of Embossing on Different Surfaces
Embossing is not limited to just paper; it can beautifully enhance a variety of surfaces, each offering unique textures and visual effects. For instance, embossing on cardstock is a popular choice due to its rigidity, allowing for clean and precise impressions. However, you can also experiment with other surfaces such as wood, leather, and even fabric. Each material brings its own character to the embossing process. Wood, for example, provides a rustic feel, while leather adds a sophisticated touch—perfect for creating personalized wallets or bags. Fabrics, particularly natural fibers, accept embossing well when done with care, resulting in elegant raised patterns that can transform simple items into statement pieces. Moreover, embossing on metal can yield striking results, especially when combined with heat techniques to bring out dimensional designs. Regardless of the surface you choose, the versatility of embossing opens up a world of possibilities, allowing crafters to express their creativity in exciting and unexpected ways.
Conclusion
Embossing tools give endless creative chances for people who love crafts. There are different tools like styluses, heat guns, embossing powders, and machines. Each tool has a special job to make your projects better. If you are a beginner, you can start with styluses. For advanced crafters, electric embossing machines can be fun to try. You can emboss on different surfaces, like fabric, to make it feel unique. Always stay safe when you use heat guns. Make sure you follow the safety rules. Pick embossing powders that match your project for great results. Enjoy the art of embossing and let your creativity show in every project. Begin your embossing journey today!
Frequently Asked Questions
What is the most versatile embossing tool for beginners?
An embossing stylus set made from stainless steel is a great choice for beginners. This handy set is available at retailers like Amazon. It helps you try out different line weights. When you use it with an embossing mat, you can do even more. With this combo, even newcomers can get fantastic results.
Can I emboss on fabric, and if so, how?
Yes, you can do DIY embossing on fabric! Just use a stylus or special fabric embossing tools. This will help you create beautiful, raised designs. First, trace your chosen pattern onto the fabric. Then, apply heat to make the embossed effect last longer.
What are the safety tips for using a heat gun for embossing?
When you use a heat gun, safety should come first. Make sure you work in a space with good air flow. Keep the heat gun moving to prevent burning the paper. Never touch the nozzle while it’s hot or right after you turn it off. Let the tool cool down completely before you store it.
How do I choose the right embossing powder for my project?
When picking an embossing powder, think about the effect you want and the color of your cardstock. Clear powder gives a soft shine. Metallic powders look fancy. Look at different colors and textures to create unique finishes.


0 Comments