The Ultimate Guide to Leather Embossing: Tools, Techniques, and Expert Tips
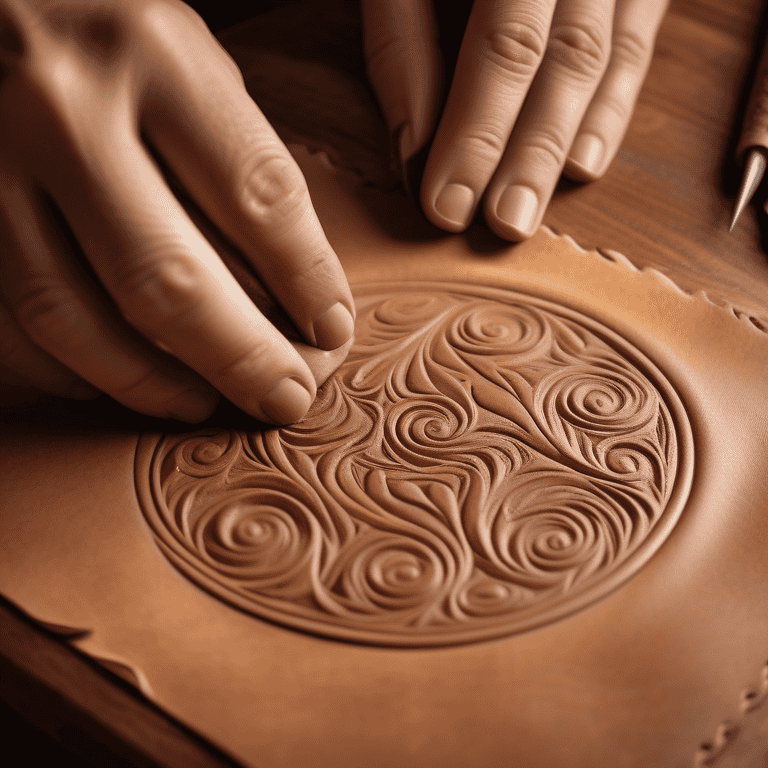
Leather embossing is a captivating art form that transforms plain leather surfaces into personalized, textured works of art. By utilizing specialized tools and precise amounts of pressure, artisans and hobbyists can create raised or indented designs that add profound visual interest.
Whether you are personalizing a journal cover with a monogram, adding a company logo to a portfolio, or creating intricate continuous borders on a belt, understanding the nuances of leather embossing empowers you to elevate your craft. This complete, step-by-step guide covers everything from selecting the right leather to mastering stamps, wheels, arbor presses, and finishing techniques.
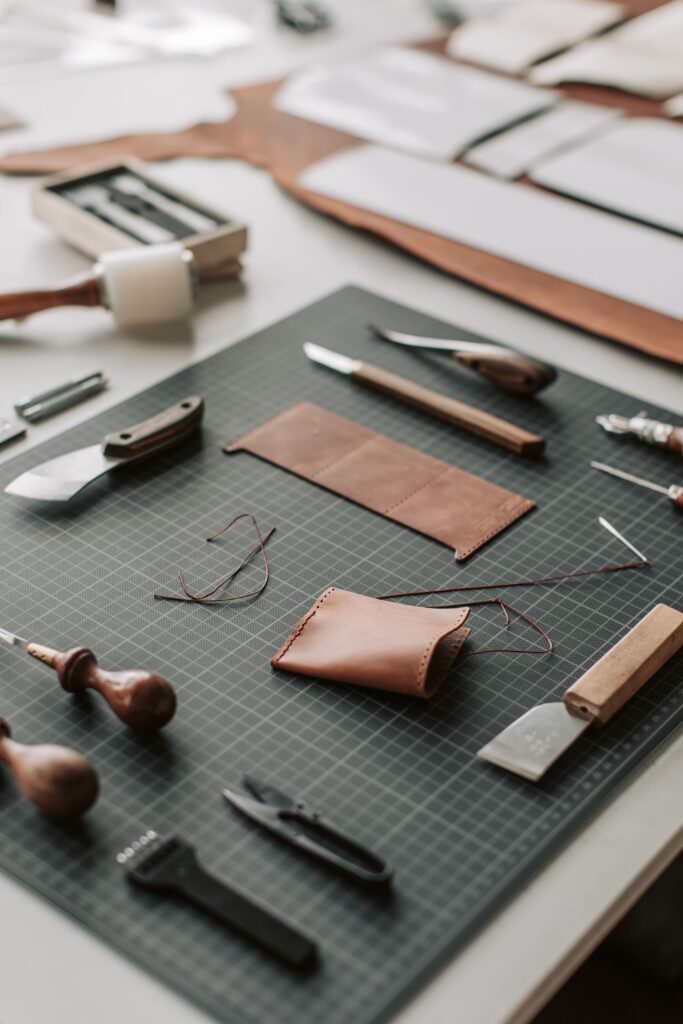
Proper preparation and the right tools are the foundation of clean leather embossing.
- Selecting the Right Leather for Embossing
Choosing the correct canvas is the first and most crucial step in your leatherworking journey. Different leathers possess varying densities, chemical compositions, and textures, which dictate how well they hold an impression.
- Best Types of Leather: Unfinished or vegetable-tanned leathers, such as cowhide or buffalo hide, are the absolute gold standard for this craft. Vegetable-tanned leather is uniquely designed to absorb moisture, receive a shape under pressure, and hold that shape permanently once dry. Chrome-tanned leathers (often used for upholstery or garments) generally will not hold a cold-pressed impression.
- Thickness Matters: Leather thickness is usually measured in ounces. A medium-weight leather (around 4 to 6 oz) provides a good balance between durability and flexibility. Thicker leather requires significantly more pressure to create a clear impression, while thinner, softer leathers like calfskin require a much lighter touch to avoid punching completely through the material.
- Surface Finish: A smooth and even surface is crucial for the best, most uniform results, though experimenting with heavily textured hides like crocodile skin can yield incredibly unique, rugged creations.
- Choosing Your Embossing Tools: Stamps vs. Wheels
The tools you choose depend entirely on the aesthetic you want to achieve. The two primary methods involve custom stamps for distinct, standalone logos, and embossing wheels for continuous, flowing patterns.
Leather Embossing Wheels
Embossing wheels are specialized, rotating rollers used to press continuous patterns or borders into the leather. They are usually made of brass to ensure precision and longevity, and are used alongside a stylus (to guide the wheel) and a hammer (to apply downward force).
- Scroll Wheels: Feature intricate scrolling patterns, making them ideal for decorative, curved borders.
- Vine Wheels: Perfect for adding botanical touches, these create natural motifs like leaves, vines, and flowers.
Custom Embossing Stamps & Material Comparison
Custom stamps are meticulously crafted dies used to create a debossed or raised imprint, ideal for logos, monograms, and central artwork. The material of your stamp dictates its lifespan and how much pressure or heat it can handle.
| Stamp Material | Durability & Lifespan | Best Use Case | Cost | Recommended Tool |
| Brass | High (Thousands of uses) | Heat stamping, fine details, professional high-volume use | $$$ | Custom Brass Stamp on Amazon |
| Steel | Extreme (Lifelong) | Industrial presses, heavy cold stamping, deep impressions | $$$$ | Heavy-Duty Arbor Press |
| Delrin | Medium | Budget-friendly cold stamping, beginners, occasional use | $ | Delrin Maker Stamp on Amazon |
| Magnesium | Low/Medium | Short production runs, budget heat stamping | $$ | Manual Heat Wand |
Note: Delrin is an excellent, cost-effective plastic for hobbyists, but it may not withstand the rigorous PSI of high-powered hydraulic presses as effectively as brass or steel.
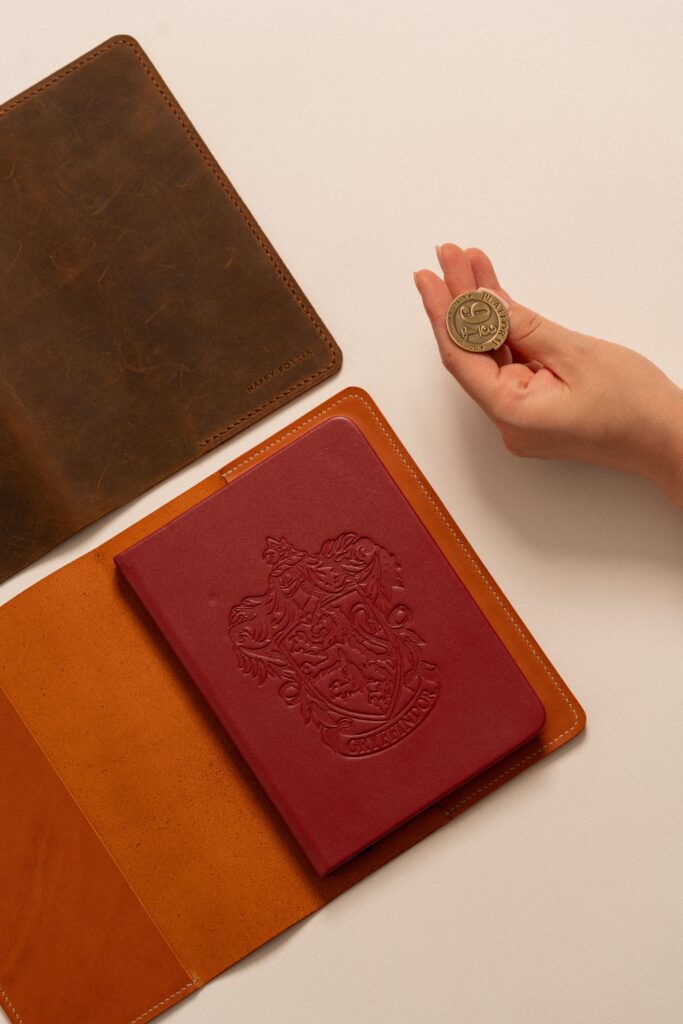
Brass stamps provide unparalleled detail and can be used for both cold and hot stamping.
- The Step-by-Step Embossing Process
Achieving a professional-grade impression requires a precise balance of moisture, pressure, and time.
Step 1: Prep and “Case” the Leather
Proper preparation ensures a clean, crisp impression.
- Clean: Wipe the leather surface with a damp sponge or cloth to remove surface dirt and debris.
- Case the Leather (Moisture Control): This is the most technical step. You must dampen the leather to make it pliable, a process known as “casing”. Do not soak the leather in a bucket—over-saturating will cause the fibers to swell and lose the impression entirely. Instead, use a spray bottle to lightly mist the surface of the vegetable-tanned leather. Spray just until the leather changes color (usually to a nice, rich caramel hue).
- Wait: Let the moisture penetrate the fibers for 1 to 2 minutes before stamping.
Step 2: Transfer and Execute the Design
- For Wheels: Hold the embossing wheel firmly and roll it across the damp leather, applying heavy, even pressure. You can adjust the depth of the impression by changing the angle of the wheel or the physical force applied while rolling.
- For Stamps (Mallet Method): Place your stamp in the desired, centered position. Use a wooden mallet or a non-marring leather hammer to firmly strike the stamp. Strike the stamp squarely to ensure an even impression, applying moderate force.
- For Stamps (Arbor/Clicker Press Method): If you are using an arbor press or a hydraulic clicker press, place your cased leather flat on the pressing block. Lower the ram onto the stamp. Pull down firmly and hold the pressure for 15 to 30 seconds. This “dwell time” allows the damp leather fibers to permanently compress and conform to the microscopic details of your die.
Step 3: Apply Heat (Optional for Dry Leather)
If you are working with dry leather or chrome-tanned goods, you can use heat and pressure to force a lasting impression.
- Heat a brass stamp to approximately 300–350°F (150–175°C). You can use a heat gun or a specialized hot foil stamping machine.
- Press the heated stamp firmly into the leather and hold for 5 to 8 seconds.
- Allow the leather to cool completely before handling or moving it, ensuring the design sets without cracking or peeling.
Step 4: Drying and Setting
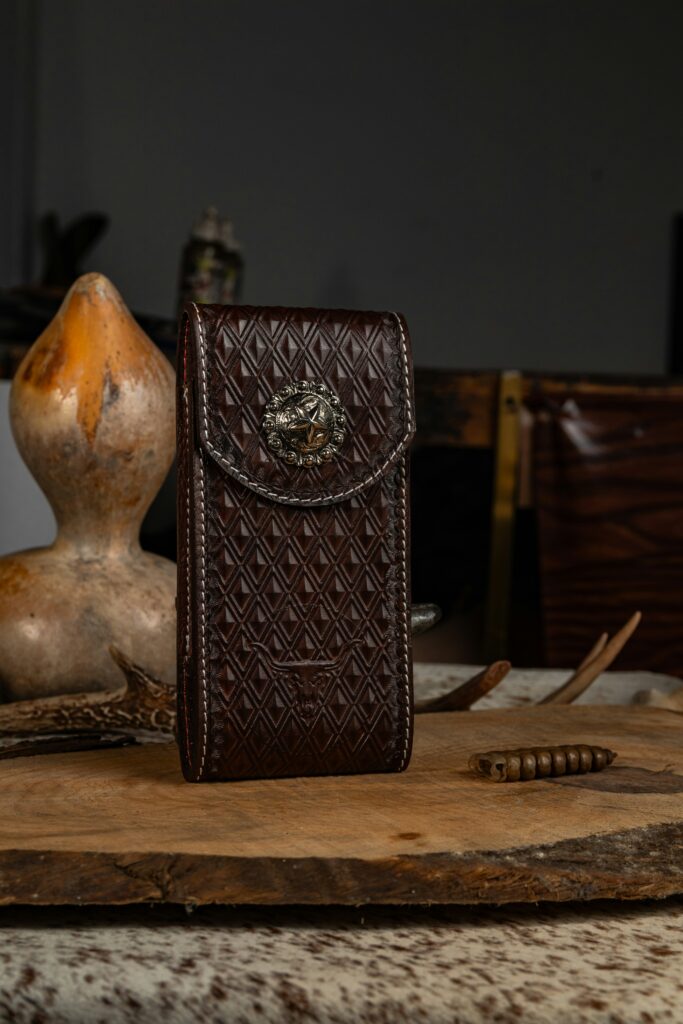
Once you are done cold-embossing damp leather, you must let it dry completely. As the moisture evaporates, the leather fibers lock into their new compressed state, making the embossed design permanent. Allow the leather to dry naturally at room temperature. This can take anywhere from a few hours to a full day depending on the ambient humidity. Do not use a hairdryer or heater, as rapid drying can cause the leather to warp, shrink, or crack.
Allowing the leather to cure naturally ensures the fibers lock the design in place permanently.
- Finishing Touches: Coloring and Protecting
Once your design is fully cured and bone-dry, finishing techniques can bring out the intricate details and protect your hard work.
- Adding Color: Use leather dyes or acrylic paints to highlight specific areas of the design. You can also apply an antique finish by rubbing a darker dye or paste over the piece and wiping away the excess. The dark color will settle into the recessed, embossed areas, immediately giving the piece a weathered, aged look.
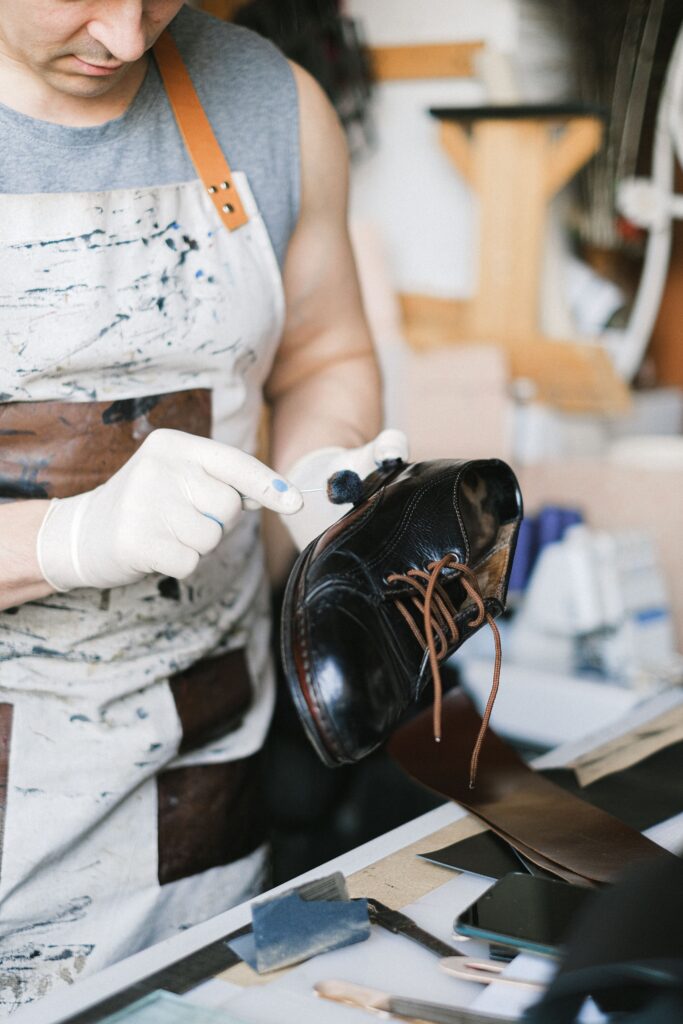
- Sealing the Leather: Protect your work from moisture, scratches, and daily wear by applying a leather wax, oil, or protective spray. Work waxes and oils heavily into the leather using circular, even strokes with a clean cloth.
- Buffing: Allow your chosen finish to dry completely, then vigorously buff the leather with a clean rag or horsehair brush to achieve a polished, professional shine.
A high-quality wax or oil finish protects the embossing and adds a rich patina over time.
- Frequently Asked Questions (FAQ)
How long should I let leather dry before embossing? You don’t let it dry before embossing; you actually want to lightly dampen (case) vegetable-tanned leather right before you stamp it. After you have pressed your design into the damp leather, you should let it dry naturally for 12 to 24 hours before applying any dyes, oils, or finishes.
Can you emboss leather without heat? Yes. Cold embossing is the most common method for hobbyists. It relies on dampening vegetable-tanned leather to soften the fibers, then applying heavy physical pressure using a mallet, arbor press, or embossing wheel. Heat is generally only required if you are trying to hot-stamp dry leather, faux leather, or chrome-tanned goods.
How much pressure do I need for leather embossing with an arbor press? The exact poundage depends on the square inch surface area of your stamp. A 1-ton arbor press is usually sufficient for small maker’s marks (1×1 inch). However, for larger logos (2×3 inches or more), the surface area disperses the force, meaning you may need a 3-ton to 5-ton hydraulic shop press to achieve a deep, even impression. Always hold the press down for 15–30 seconds to let the fibers compress.
Brass vs. Delrin leather stamp: which is better? Brass is the superior material for professionals. It captures much finer detail, can withstand thousands of heavy impacts, and can be heated for hot stampin. Delrin (a rigid polymer) is fantastic for beginners because it is highly cost-effective and creates great cold impressions on damp leather, but it will melt if heated and can shatter under extreme hydraulic pressure.
0 Comments